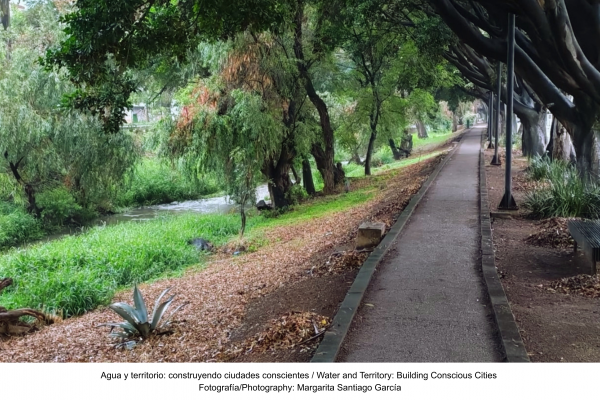
Seed balls
Want to help nature flourish? Learn how to create Seed balls with Salvador Gutiérrez.
During the 20th century, the wise Japanese farmer Masanobu Fukuoka experimented with various practices focused on food production and soil restoration. One of those that turned out to be most successful was the spread of seeds covered by soil, which he called Nendo Dango, a Japanese term whose meaning is Clay Balls.
Thanks to its simplicity, efficiency and protection that it provides to the seed during its germination time, the practice of wrapping seeds in soil has been used in various parts of the world, not only as a planting method but also as a method of reforestation and recovery of degraded ecosystems.
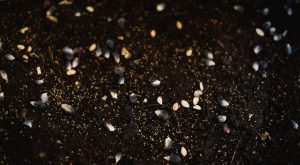
Seed mix
Photography: Salvador Gutiérrez
Below is a step-by-step explanation of how to make Nendo Dango.
- Choose and prepare the seed.
We must look for seeds that come from projects or people whose planting methods seek to care for the soil and water, free of agrochemicals and focused on the food sovereignty of families and communities.
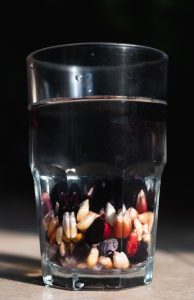
It is recommended to soak large seeds or those with thick layers for a while, in order to rehydrate them and facilitate their germination. In general terms, it is recommended to soak for 12 to 24 hours, some, like corn, can be soaked for up to 48 hours.
Remember that diversity is essential in the production of healthy food and in the recovery of the soil, so it is important to mix seeds of different types that associate appropriately with each other. A great association of species is the ancestral system of the milpa: corn, beans, squash, quelites, chili peppers, among another great variety of endemic plants.
Corn seed
Photography: Salvador Gutiérrez
- Preparation of the substrate.
The substrate must contain one third of clayey soil, one of fertilizer (compost, bocashi, manure) and one of soil from the place where the balls with seeds will be placed to germinate. The substrate must be fine, so it will have to be sifted through a mesh.
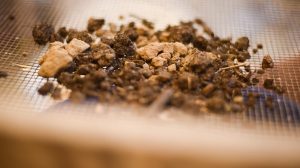
Substrate
Photography: Salvador Gutiérrez
- Mix.
Get a container that can be comfortably held with your hands (tub, bucket, bowl), deposit the substrate and seeds. Add water little by little, preferably spray it, never puddle or muddy the substrate. Execute circular movements with the container.
The soil will surround the seeds and the balls will begin to form on their own. If we notice that the substrate is dry and does not adhere, add a little more water.
This process can be an excellent exercise because it requires moving the container for a long time, if you want to have a good amount of well-made balls.
The size of the balls will be determined by the size of the seeds, however, it is recommended that the balls do not exceed a size greater than 3 cm in diameter, because if the seed remains in the center of the ball, it may have complications to germinate and break the substrate to sprout.
We can remove from the container those balls that are already formed, in order to add more seeds and more substrate to the container. In the end, the balls can be breaded in dry soil to store them for a while, although the ideal would be to sow them within the first five days after making them.
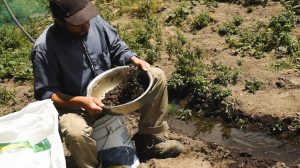
Mix
Photography: Salvador Gutiérrez
- Let’s play Gods.
It is time to throw the balls into the land that we want to cultivate or recover. If the balls are well made, they should not break when dropped. If this happens, it is recommended that they be delicately placed on the ground.
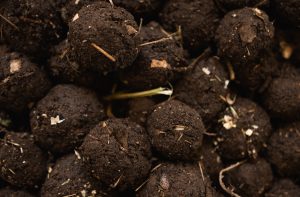
Nendo Dango
Photography: Salvador Gutiérrez
The seed has the wisdom to recognize the ideal time and place to germinate, let’s trust nature, observe and enjoy the process that will develop from this moment on. It is important to follow up on those plants that are born, how their development is going and how all those species that associate are establishing a community.
I highly recommend reading The One-Straw Revolution by Masanobu Fukuoka, and give a theoretical and philosophical meaning to this noble practice.


-10.28.24.jpg "Anunciate07-13-a-la(s)-10.28.24")

 13.26.42.png "Captura de Pantalla 2023-02-08 a la(s) 13.26.42")